In Piquet, you draw cards from the Army Characterization Deck prior to the battle. These cards might give you morale bonuses, extra cards, special stratagems, and most importantly, morale chips which measure the capacity of your army to take losses and setbacks throughout the battle.
The Burgundians drew 22 morale chips.
The French drew 9 morale chips, an extra Cavalry Move in Open card, an UP1 Morale Die for Infantry card and a Reinforcements Stratagem. The French traded in the UP1 Morale card for another draw which gave them a 6 morale chip card for a total of 15 morale chips. They kept the extra cavalry move card and the Reinforcements Stratagem.
Unfortunately, the reinforcements (6 more units) would not arrive until Turn 6!! It was a d6 for units and a d6 for turns. We normally allow players to trade in special ACD cards to draw more morale chip cards from the deck, but we do not allow the players to trade them in after they decide to roll for the particular stratagem card to see how good it is. Once the player decides to keep the Stratagem card, he can't trade it back in because he tanked on the result. Tough luck.
So, the French are more brittle when it comes to morale, but their deck is souped up with an extra card. Let's do this!
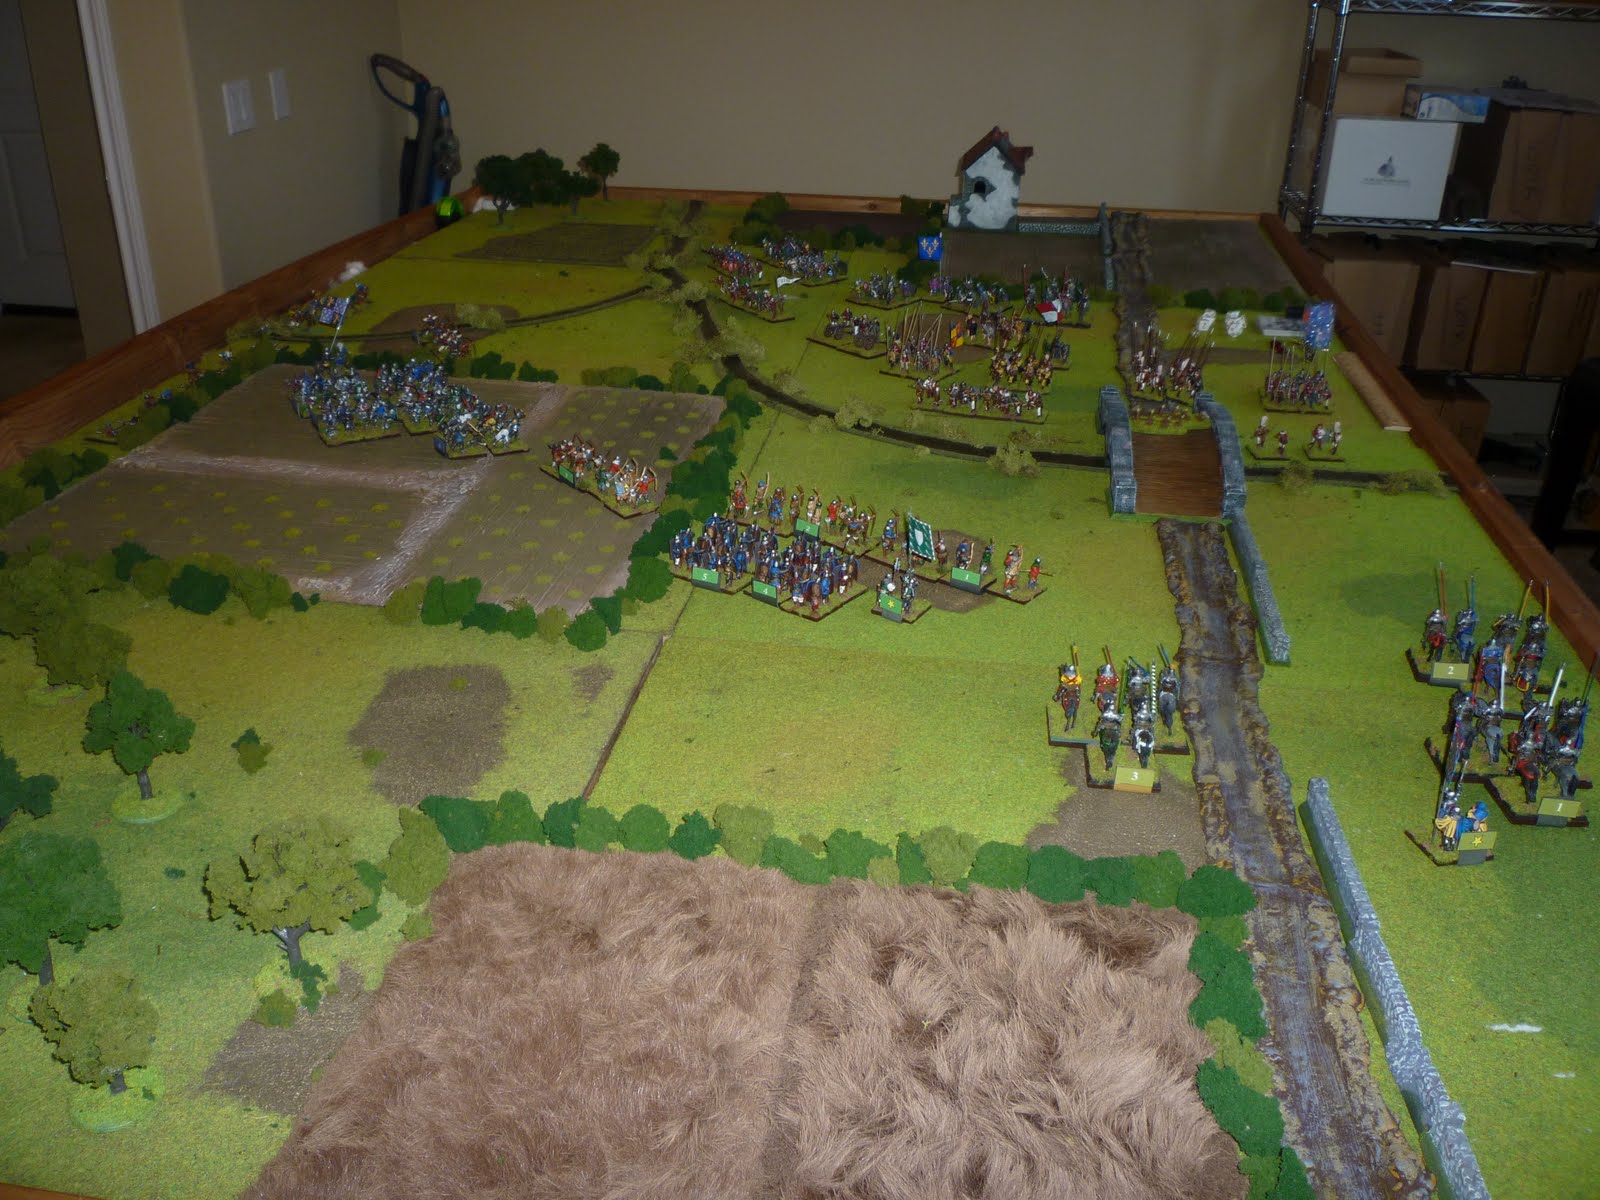
 (ABOVE) The battlefield. The Burgundians are on the left. The French are on the right. That's a road running down the middle of the table. The table is actually for my Kursk scenario I'll be testing over the next few months. Works just as well for the Hundred Years War.
 (ABOVE) Hundred Years War Burgundians. French dismounted Men At Arms (MAA), Picardy longbowmen, and low country pikemen on the right flank. Mounted retinue knights, low country crossbowmen, and Burgundian dismounted MAA in the center. Burgundian dismounted MAA on the left flank near the woods (they are rated as Militia. Not good).
Militia troops are vulnerable to the Levy Apprehensive card. When this card appears, all levy troops rated as Militia or worse have to check morale. If the majority of the levy troops fail the check, all of the levy troops flee the table unrallyable. All Hundred Years War armies have this card in their decks, but only the Burgundians have militia men at arms so the Burgundian commander's heart always skips a beat when this card flips over.
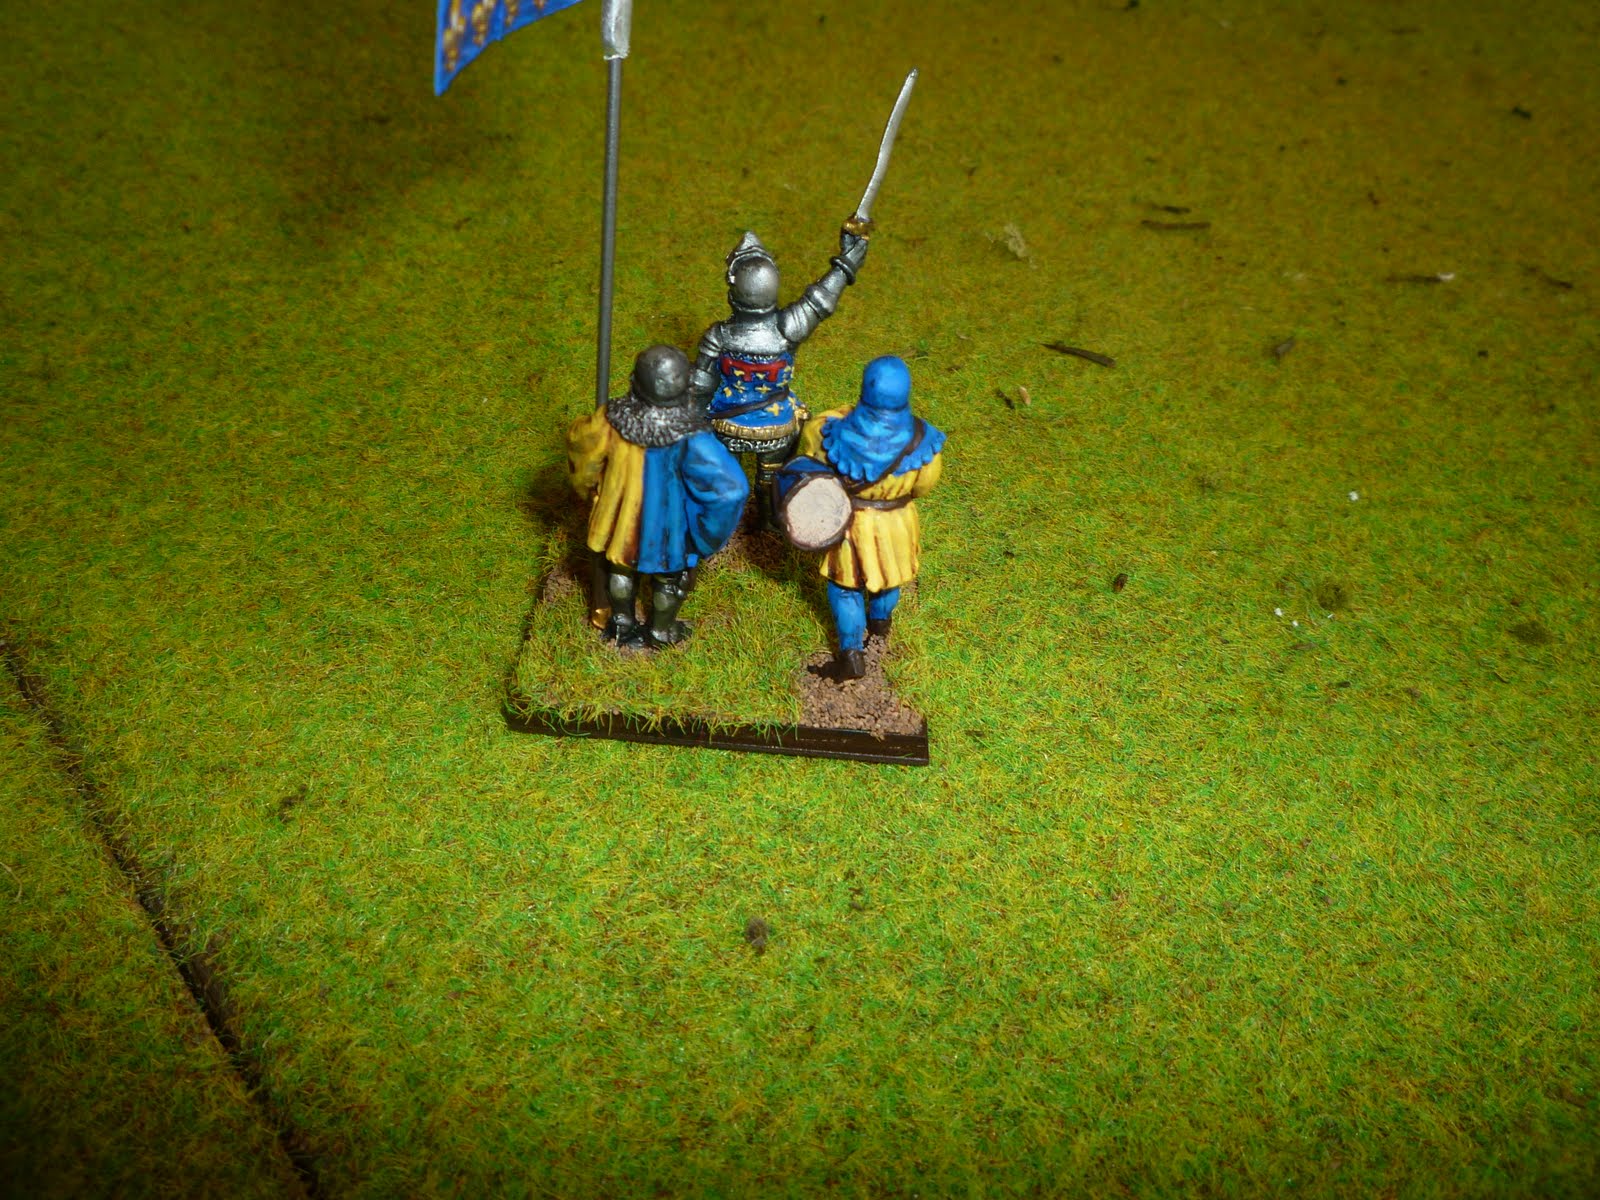
 (ABOVE) Late Hundred Years War French. Mounted men at arms (MAA) on the left flank. Dismounted MAA, brigans (common pikemen), and Voulgiers (common Halberdiers) in the center. Peasants, skirmishers, bowmen, and crossbowmen on the right flank. Somebody plans on using that extra Cavalry Move in Open card! Cavalry can only move on that card. The 28 card French deck normally has only 3 of them.
 (ABOVE) The French mounted left wing charges over the hill into the Burgundians. We actually used a cavalry morale challenge and an opportunity charge against the archers at the top of the screen. And we did it properly! Hooray for us! Then I pulled the Courage! card. Aaargh. All units in contact check morale. Luckily, only one unit failed and went disordered.
In Piquet: Band of Brothers, cavalry can attempt to intimidate and disorder other units by issuing a cavalry morale challenge and literally challenging the morale of the target unit. If the target fails, it becomes disordered. Disordered units (and flanked units, for that matter) then become possible targets for Opportunity Cavalry Charges. So, a unit of knights can challenge an enemy unit, disorder it, and then charge into melee with it.
 (ABOVE) Another cavalry morale challenge followed by an opportunity charge against dismounted French men at arms. Burgundy (Jason) started grumbling a bit about the overwhelming cavalry advantage enjoyed by the French.
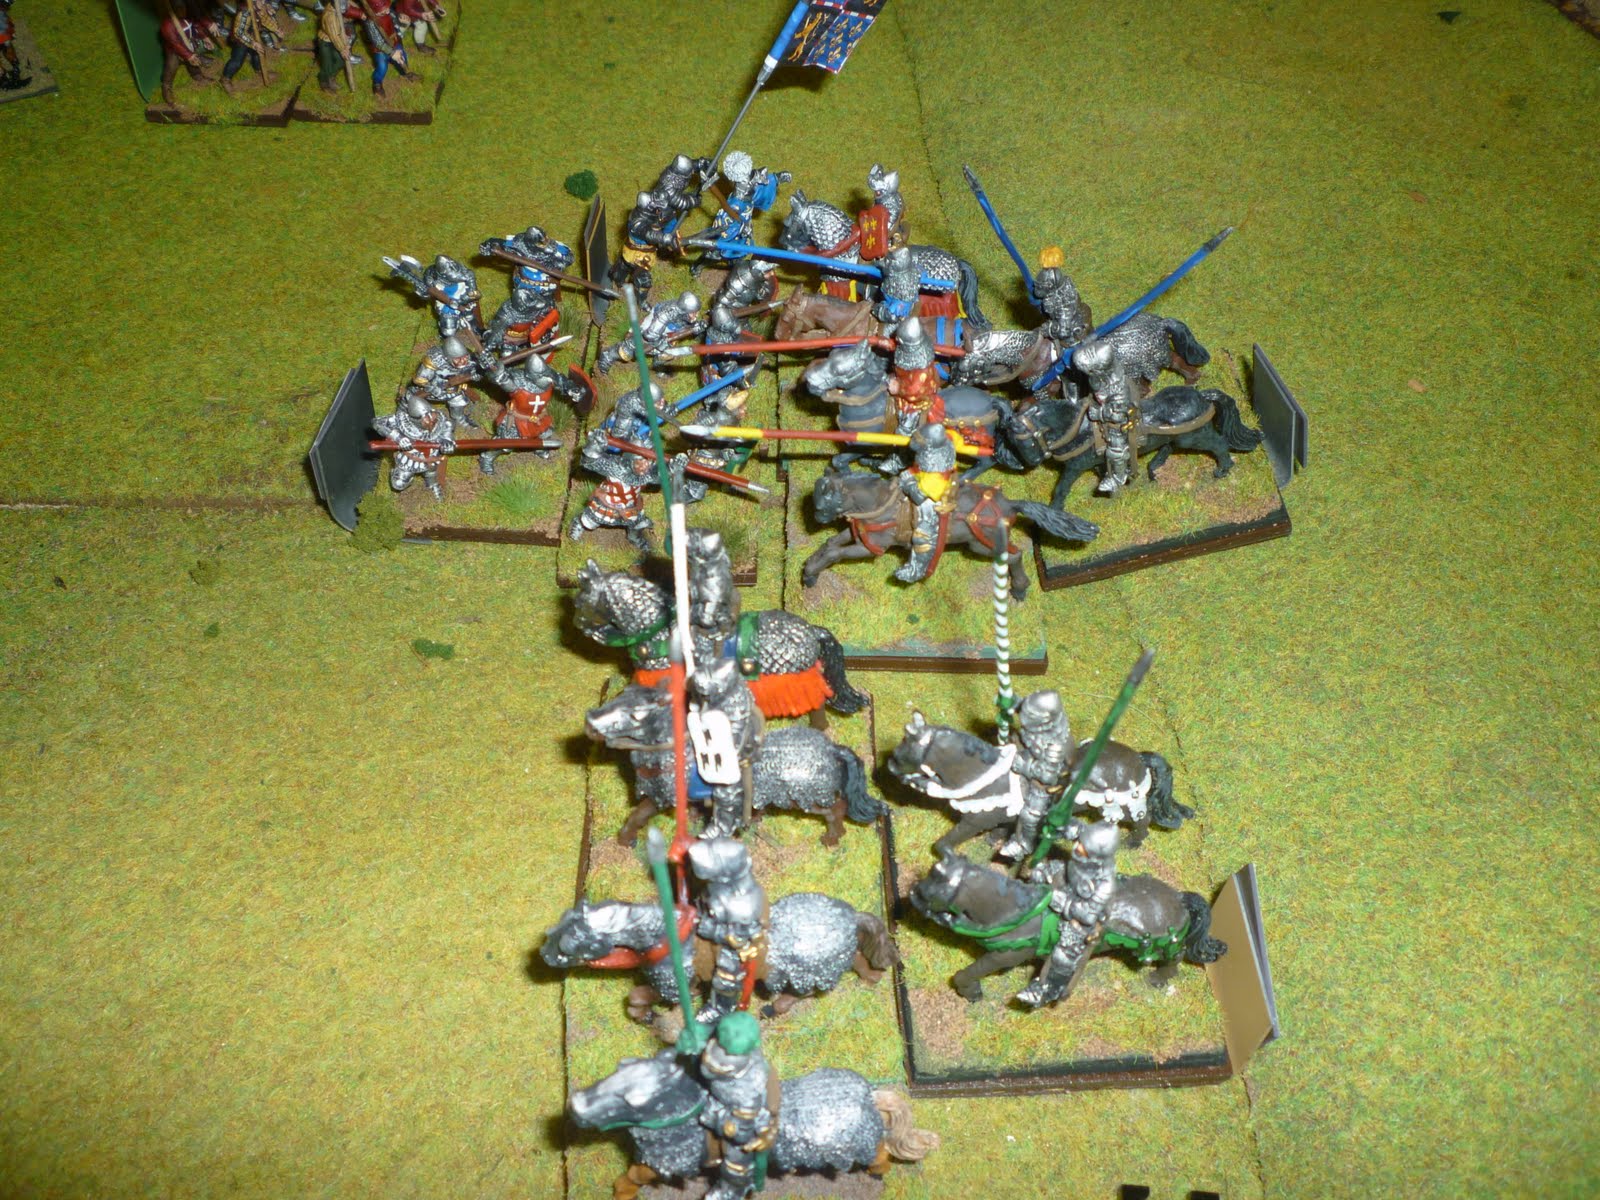 (ABOVE) Mounted knights doing their thing!
 (ABOVE) These Low Country pikemen took advantage of some great impetus to engage this French MAA unit in the flank, automatically disordering it. Looks bad for the French.
 (ABOVE) D6 versus D12 results in a 2 to 1 win for the knights! Jason must have rolled a "1" five separate times in melees during the game. Followed by a morale challenge, the pikemen routed.
 (ABOVE) In the foreground, the French mounted knights have crushed the Burgundian right flank. A few impetuous nobles rode off the table in pursuit, but the French horse just need to reorganize from disorder and things should be just peachy. In the top right corner, you can see the Burgundian mounted retinue knights going after the French commoner infantry. The battle lines have become a bit confused. The French have no morale chips left at this point!
 (ABOVE) A few moves later. Both sides have taken Major Morale checks. Morale chip count is 4-0 Burgundians.
 (ABOVE) The Burgundian retinue knights, eager to get out of armor and into their nice, silky court clothes, attack and crush a unit of French brigan pikemen. Yes, they are led by an English duke. The Burgundian army is an international force!
 (ABOVE) The last unit of mounted French knights with leader attached fights off another unit of Low Country pikemen D6 vs. d12 = 3 to 1!
 (ABOVE) On the next turn, the pikemen advanced again, despite their disorder and drove off the French knights. The French pulled a Major Morale Check card, down 12-0 in morale chips. The French withdrew from the field.
The Burgundian commander has since reassessed the battle and decided his army needs one major upgrade: MORE LOW COUNTRY PIKES!! And better dice.