Monday, August 15, 2011

Burgundy Forever!

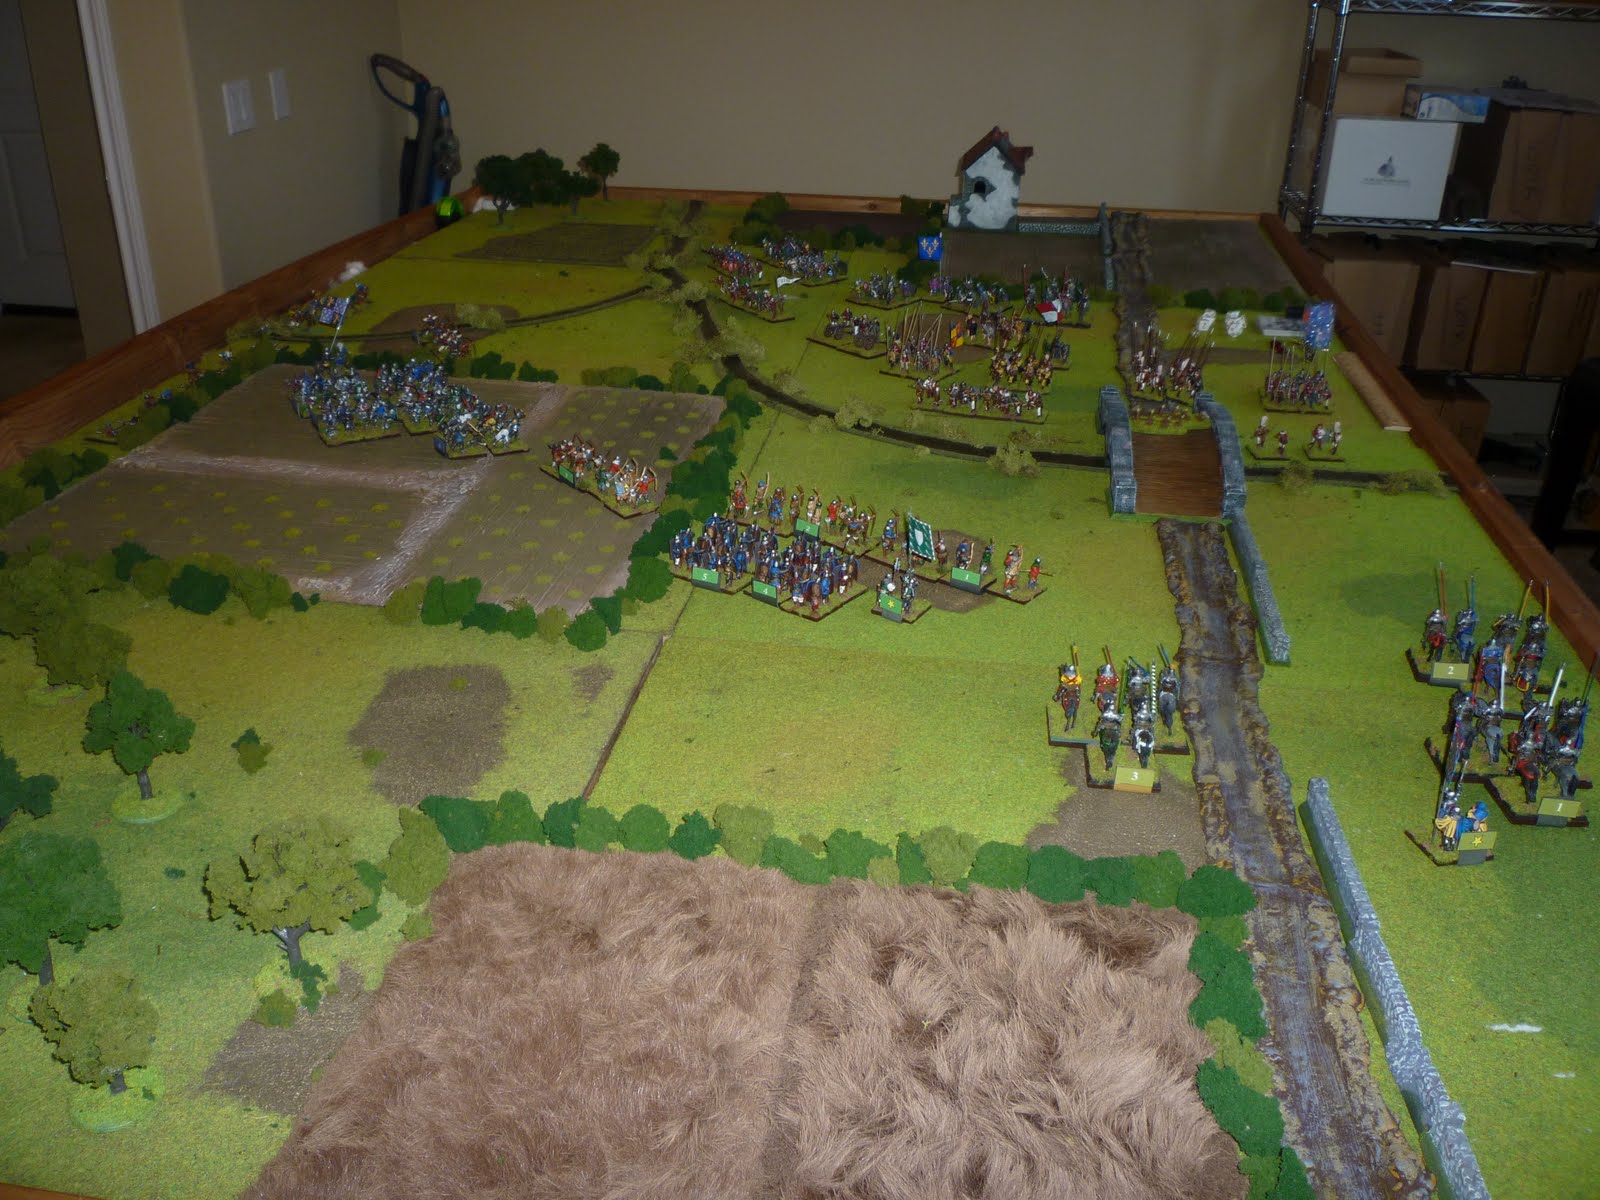
This battle was a hypothetical Hundred Years War battle roughly based on the Battle of the Golden Spurs. A Flemish city has revolted against the authority of John the Fearless, Duke of Burgundy. Their revolt has been sponsored and supported by the Armagnac followers of the King of France. The Duke has raised an army of his vassals to enter the city and crush the revolt. The rebellious guildsmen are attempting to block the passage of the Duke's army at a river. If the rebels can hold off the Burgundians for six turns, it will encourage other Low Country towns to rise up against the Duke's authority.

(ABOVE) View from the Burgundian side.

(ABOVE) View from the Low Country side of the battlefield. The Low Country troops are defending from behind the river. The main river is a Class III obstacle. The side branch is a Class II stream.

(ABOVE) This bridge is on the left flank of the Low Country defenses. It is barricaded.

(ABOVE) The Low Country army consists of 4 units of militia pikemen, 3 units of mercenary crossbowmen, 4 units of burgher knights, a unit of mounted French knights, and an organ gun battery. Their general is Average.


(ABOVE) The Burgundians have 3 units of mounted knights, 5 units of dismounted Burgundian knights, 2 units of mercenary spearmen, 3 units of Picardy longbowmen, and one unit of English longbowmen. Greg rolled up an Abysmal general. Poor Greg!

(ABOVE) The French archers approach the river bank and fire against the crossbowmen with little effect.


(ABOVE) The river has been crossed.

(ABOVE) The Burgundian knights crossed the river and were blasted by the organ gun. The organ gun fired with great effect during the early part of the game. Meanwhile the Burgundians successfully forced the bridge and Low Country pike units have started forming into Hedgehog.

(ABOVE) Burgundian cavalry attempts to force the river and bridge.

(ABOVE) Reinforcing burgher knights drive off the Burgundian dismounted knights' assault

(ABOVE) The cavalry unit assaulting the bridge was driven off, but another unit of mounted knights managed to ford the river. (BELOW)


The knights crushed the disorganized militia pikemen, but were then caught while pursuing and defeated by the French knights who waited in reserve. (BELOW)


The end result was a resounding win for the rebellious burghers. It was a good playtest of the scenario that was made much more difficult because Greg's Burgundian general ended up as an Abysmal commander. The Burgundian knights are terrible and about the same quality as their rich city counterparts. Known more their courtly manner and fine clothing, the militia-rated Burgundian men-at-arms underperformed once they realized the common townsmen actually planned on putting up a fight. Greg probably rolled up at least half of his units as poor, battle weary quality.

The militia pikemen were average (good against cavalry), but the Low Country mercenary crossbowmen were very strong and I might reduce them to two units the next time we play. The heavy armor of the crossbowmen was a big advantage against the Picardy longbowmen. The organ gun battery was fun and did pretty well.

Greg felt the river was too difficult an obstacle, so I plan on reducing it to a Class II obstacle. That will still make the river a Class III obstacle for the Burgundian mounted extra-heavy knights.

Tuesday, July 26, 2011

Perry late 15th Century Swiss

I purchased the Perry Miniatures plastic mercenaries box, but I waited a few weeks for the metal Swiss heads set to come out. The Swiss heads give some variations (feather, caps, bonnets) that are suitable for representing the Swiss pike troops and missile troops who battled against Charles the Bold and the Holy Roman Emperor in the late 15th century. They painted up nicely and the plastic pikes are surprisingly flexible and durable.


Monday, July 25, 2011

HYW Perry Command 3

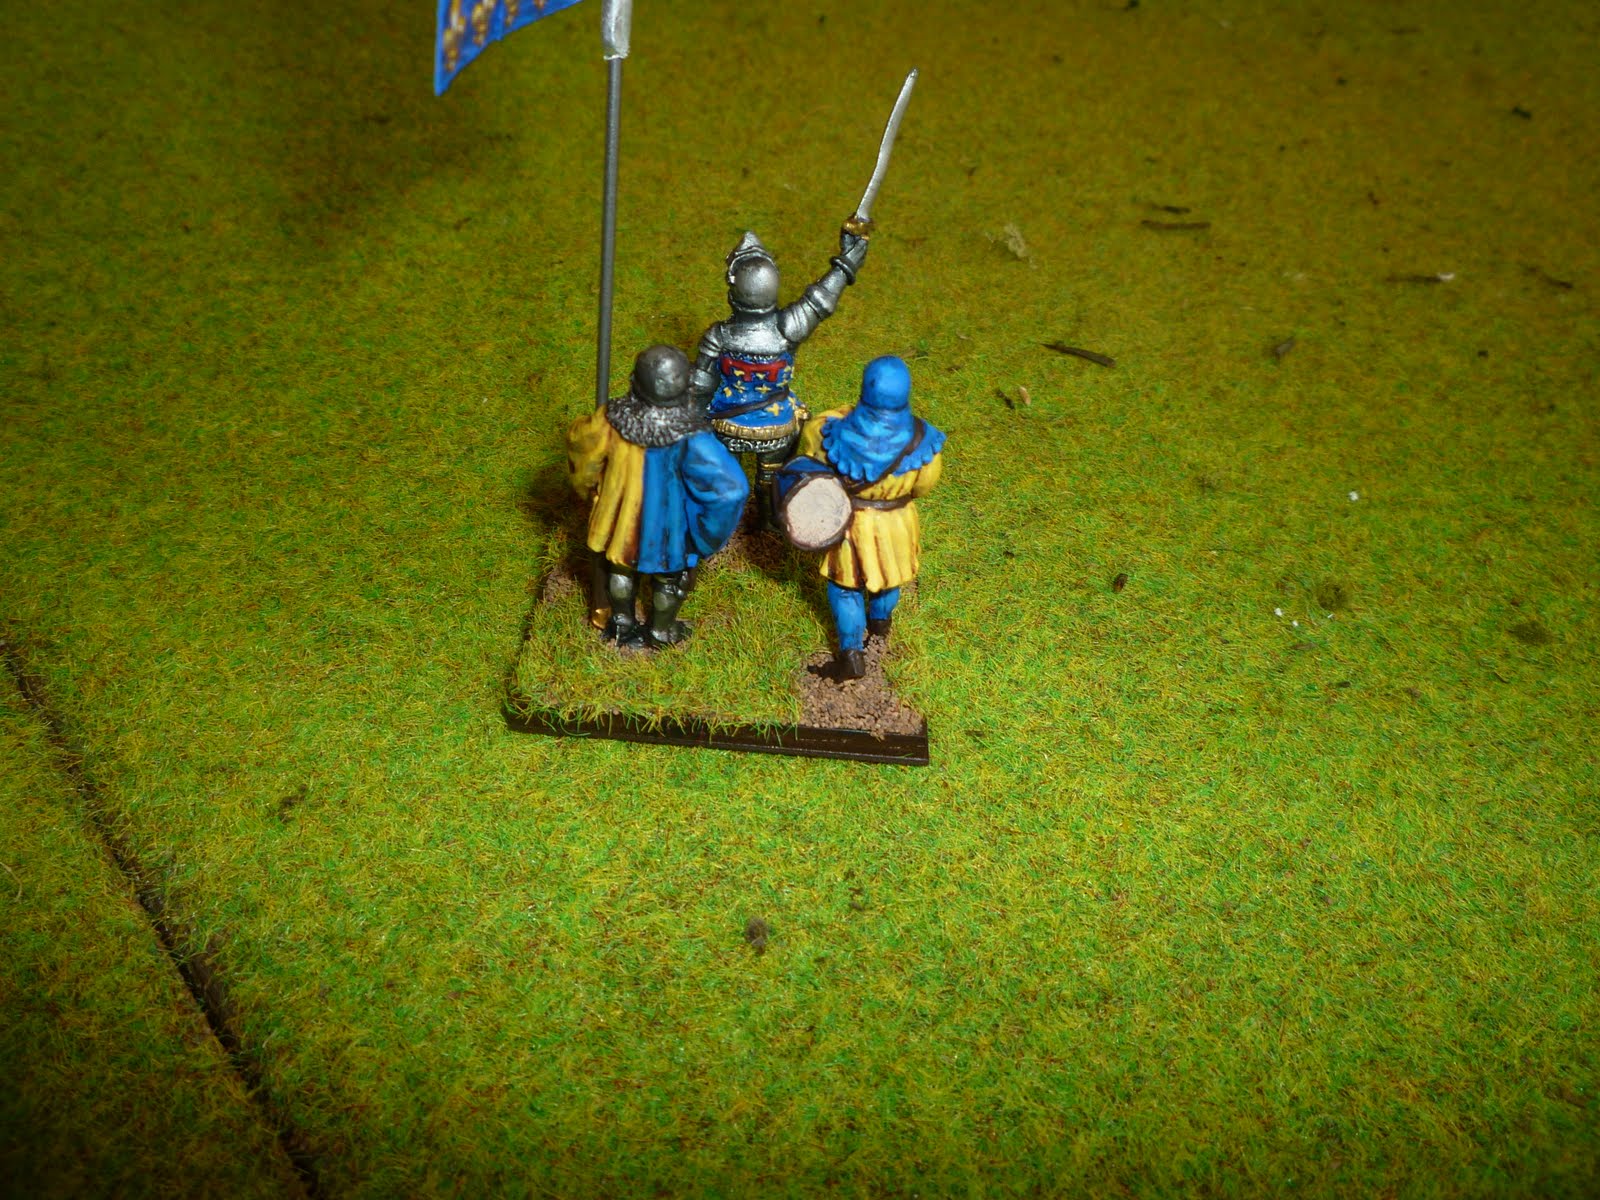
This post is for Greg to prove to him that I'm still painting for our medieval project. Here are some pictures of some of the newest 28mm Perry Miniatures Hundred Years War command stands I've been painting for my Piquet: Band of Brothers games.

In Band of Brothers, the sub-commanders and commanders fight in the ranks, like real men. We're trying out a new house rule that reflects the household troops that would fight alongside these high-ranking nobles. The command stands actually form up with the unit they are attached to and count as an extra stand for stand difference modifiers. A four stand unit with a commander attached to it would count as a five stand unit.

We'll see how that works. It might be too much of an advantage, but it doesn't hurt to try it out.

I took a command figure from the Perry personality set and matched them up with two miniatures from the Perry men-at-arms and command packs. The flags are from Maverick Models. The owner was nice enough to design a flag for Thomas Erpingham for me. He also can size the flags to suit your needs. Great service.

I'm still using the idea I stole from James Roach for removable flags. Each flag is wrapped around a small tube so I can remove them for travel and when the commanders need to represent different armies and nobles.

The command figures are:

Sir Thomas Erpingham who marshalled Henry V's archers at Agincourt:


The Count d'Eu, captured at Agincourt. But he looks pretty! The Perry's did a great job of sculpting his heraldry:


Anthony, the Duke of Brabant, who arrived late to the battle of Agincourt, rushed into combat at Agincourt. In his hurry, he wore improvised armor and a surcoat made of a trumpeter's flag. He was captured and executed when Henry V gave the order to kill the English captives. He most likely died because no one recognized his value as a hostage without his heraldry. In my games, he fights dressed to the nines:


Coming soon: Late 15th Century Swiss pikemen and handgunners!

Sunday, July 24, 2011

Field of Battle Kursk Project

After a few games of Field of Battle WW2 (FOBWW2), I decided to embark on a new WW2 project using the FOBWW2 rules. The smallest unit in the game is a company. Commands are battalions and brigades. The rules make it easily possible to fight a division versus a division.

Each day lasts 3 turns (AM, PM, and Night).

After re-reading Glantz's Kursk book, I realized much of the action described in the book could be recreated with the FOBWW2 rules. For the first Kursk project, I selected a recreation of 1st SS Panzergrenadier Division LAH's attempt to seize Prokhorovka.

From 10 July 1943 to 15 July 1943, the LAH Division attempted to fight its way into Prokhorovka. It was opposed by a tremendous quantity of Soviet armor, infantry, airborne troops, and entrenched AT guns. The Germans start on the left side of the table and immediately have to seize Hill 241.6 right in front of them. By the end of the scenario, SSLAH Division has to have seized all four town sections of Prokhorovka on the right board edge to win the game.

One of my fellow Piqueters, Jed, agreed to participate in this project with me. I already had a decent collection of 10mm American and German troops, but no Soviets. My calculations have shown me that we will need to paint up the entire SS LAH Division as well as a Soviet Guards Airborne Division, a Soviet Tank Corps, a few motorized rifle brigades, and several AT artillery, assault gun, and heavy tank regiments. I currently have enough painted Germans to field half of what we will need.

We normally use 3 stands per company because we like the look on the table, but for this project, Jed and I agreed to only use 2 stands per company to reduce the troop congestion on the table (and reduce the painting load).

I have a lot of Pendraken infantry and vehicles. I also have approximately 30 pre-painted German 1/144 tanks. I ordered some samples from Pithead and I was happy with how closely the Pithead vehicles matched up with the plastic armor. I also recently purchased 48! 1/144 pre-painted plastic T-34's at Historicon, so that should help the painting chore list also:


I sat down and painted 10 Pithead Soviet infantry stands to see how they would turn out. With 10 poses per bag, I was happy with the results. After 2 hours of painting, only 90 stands left to go!:


The tank is an un-based plastic T-34. We'll base and touch them up.

The middle bunker is an AT gun bunker I made for this project out of Sculpey and toothpicks. The Soviet AT fortifications really wore down the Germans throughout this battle. I thought it turned out pretty well and I have some ideas for improving on this test model. I need to make 7 more and I didn't feel like buying a bunch of 10mm AT guns if I could make them myself.


The circle stand is a Soviet battalion command stand. The Pithead infantry looks really nice and I'm very happy with them. They also make tank riders we can put on out T-34's.

A few close-ups:


Here are more pictures of my awesome AT bunker:


Sunday, June 19, 2011

Field of Battle WW2 First Game

I've had the Field of Battle World War 2 (FOBWW2) rules for some time now, but I hadn't used them for any actual wargaming. After browsing through the rules and playing them a few times solo, I had the guys over and played a quick intro scenario. The setting is 1944 France and an American infantry regiment has to capture a town in two turns (by nightfall) that is defended by a German infantry battalion. The Germans are poor quality troops, but they are led by a skilled commander.

Units are three stand companies. The town is a Class III town that can hold 4 units. The woods are Class II woods. The hills are Class II hills. The farms and everything else are just there for looks.

The American infantry and HQ's are 12mm Minifigs. All of the rest are 10mm Pendraken.

(BELOW) The Americans approach the quiet valley from the hill on the right. The village is in the upper left of the play area, defended by volksgrenadiers and assault guns. The play area is restricted to 4 feet wide by the line of woods at top and bottom.

(BELOW) A better look from the American perspective. The three American battalions can be mixed commands during this period and they each have armor companies attached to them. The round bases are battalion HQ stands and each HQ has a heavy weapons marker that represents the assets of the Heavy Weapons Company. The Americans started a little clumped together, but as soon as the first German artillery landed, the Americans spread out in a hurry.

(BELOW) Heavy fire between the advancing Americans and the defending Germans among the quiet farms of the valley floor. In the game, you can fire whenever you want, but once you're unloaded, you can only fire again when you draw a Firepower card.

(BELOW) After the first American assault was repulsed, the Americans attacked out of the woods and charged into the town again. Good use of combined arms allowed the Shermans and infantry to finally drive out the Germans. The yellow beads mark suppressed units.

(BELOW) A German reserve infantry company was strafed by American airpower and lost a stand. In 1944, the Germans should not be leaving their units out in the open. I learned a lesson on this one. The German command stand is next to the infantry company.

The Germans were unable to retake the town with the damaged reserve infantry company and they failed a Morale check to end the game. The Germans withdrew to fight again another day. Each force has a certain number of Army Morale Points (AMP) that are rolled for in the beginning of the game. You lose an AMP every time you lose a stand as a casualty. While your leaders can rally stands back and get units back to full strength, you can never recover lost AMP's. Once you have no more AMP's you have to take a Morale check every time you pull the Morale card. If you fail the Morale check, your army retreats.

We took a pub break and then returned to replay the game.

The Americans had two battalions to defend their new prize. They were also given the full artillery support of their division and airpower. As morning broke, they were attacked by Germans from the 116th Panzer Division ("Windhund").

(BELOW) Two German panzergrenadier battalions in halftracks and a small tank battalion attack the American lines. The Americans have already hammered the leftmost grenadier battalion with artillery fire.

(BELOW) After the panzergrenadiers were thrown out of the town, it was left up to a company of Panthers to clear out the suppressed and battered American defenders on its own. So much for infantry support! The poor American HQ stand is about to hop into their truck and beat feet!

I need to dullcote these guys, the gloss shows up too much with the photo flash.

(BELOW) Artillery spotting round markers and a barrage template. Spotting rounds are placed during the Command card and the artillery fire falls on the Indirect Fire/Barrage card. The Americans have excellent artillery in this game. They used Time on Target artillery to pretty good effect during the game.

(BELOW) The obligatory home-designed card shot. You know that I like the game if I made cards for it. The cards arrived in the mail from Artscow as we were deploying the troops. Great timing!

Overall, the game was great fun and the action was fast and furious. The artillery rules are very easy and seem to really work well. The systems used in the game are very elegant and the consistent game design philosophy means that even new players will be running through the rules in no time. Fun combat results with very little need to consult the rules.

Sunday, May 29, 2011

Gamex 2011 HYW Game

On Saturday, we ran a Piquet: Band of Brothers game at the GAMEX 2011 convention here in Los Angeles. The battle was set in the early Hundred Years War. During this war, the English would often launch raids (known as a chevauchee) through France. The raids would start at one English possession, rampage across the countryside, looting and sacking castles, and then end at another English possession. The English would then happily divide up their loot and high five each other. Sometimes, the French would manage to raise a large army to shadow or fight these raids.

In this scenario, the French army is pursuing an English raid led by the Black Prince. Feeling the heat of the close pursuit and slowed by his siege guns, Edward parked his army on a hill parallel to the French line of march and waited for them to approach. Once the French saw the English, they immediately deployed to do battle.

(ABOVE) The French mounted knights. They ignored the Constable's request that they dismount. A unit of retainer knights and three units of nobles with the Orriflamme. Scary!

(ABOVE) A Marshal of France leading dismounted men-at-arms with Genoese crossbowmen and Breton skirmishers in front.

(ABOVE) The city militia and some locally raised archers have come to fight alongside their social betters.

(ABOVE) The English defense opposite the French mounted knights. The archers at the bottom of the hill are Welsh and all of the archer units are protected by pits and stakes. I'm sure the Welsh appreciate being used as a speed bump by the Black Prince. "Hey, how come we're not up on the hill like everyone else?"

(ABOVE) The French mounted nobles charged impetuously. The rest of the army watches them. Big surprise there! One units of French mounted nobles had already been shot to pieces. Three more to go!

(ABOVE) Two mounted units left, but they reached the Welsh defenses. They eventually overran the Welsh, but by the time that happened, the French mounted units were wrecked.

(ABOVE) Inspired by the destruction of their mounted wing, the rest of the French army began to walk across the battlefield under a storm of arrows.

(ABOVE) The French pulled a Battle Lust card around this time and it allowed them to charge into combat with five of their dismounted knight units. That really dropped the hammer on the English. In the picture you see a unit of English longbowmen firing against a rising tide of armored knights, but the English do have a second line of their own knights to back them up.


(ABOVE) The French missile troops actually performed pretty well. On the center right, a unit of Genoese crossbowmen is firing point blank into the English lines. The unit's status was Determined and they were firing with a D12+2. Unfortunately, by the time this photo was taken, they had lost half of their stands. They need to run already so the dismounted knights can get in there! You can also see the unit of French archers sneaking through the woods at the top of the picture.

(ABOVE) As the fighting rages along the hill, the Constable of France leads his lust-filled knights to victory. Flushed with success, they pursue impetuously and run into the Black Prince and his household knights. Uh oh! With the French already disordered from their battle lust, this ended badly for the French and the CinC and his unit routed from the table.

After a few more phases, the French had 3-4 disordered units remaining on the hill, but no morale chips left to rally them. The English also reached no morale chips and drew their Major Morale Check card first. This check routed every English unit but the Black Prince's household and an artillery battery.

The Black Prince refused offers to surrender and wheeled his tired retainers to fight the dismounted French knights. Faced with his fearsome determination and reputation, the French then flipped their own Major Morale Check card and routed from the table. A close battle with both sides losing all of their morale chips and struggling to survive. Thanks to all the players who participated.